
Are you tired of seeing scratches and damage on your vehicle‘s paint? Installing paint protection film can be a game-changer. This guide will walk you through the essential steps, from preparing your vehicle to addressing common installation challenges. Readers will learn how to effectively apply a protective coat that shields against ultraviolet rays and other hazards, ensuring long-lasting results. By the end, you will have the knowledge to choose between DIY and professional paint protection film installers, helping you protect your investment with confidence.
Key Takeaways
- Paint protection film provides a strong barrier against environmental damage and scratches
- Proper installation requires careful preparation and the right tools for optimal results
- Professional installation often ensures better quality and durability compared to DIY methods
- Regular maintenance is essential to preserve the effectiveness and appearance of paint protection film
- Different types of paint protection films cater to specific needs and vehicle types
Understanding Paint Protection Film and Its Benefits
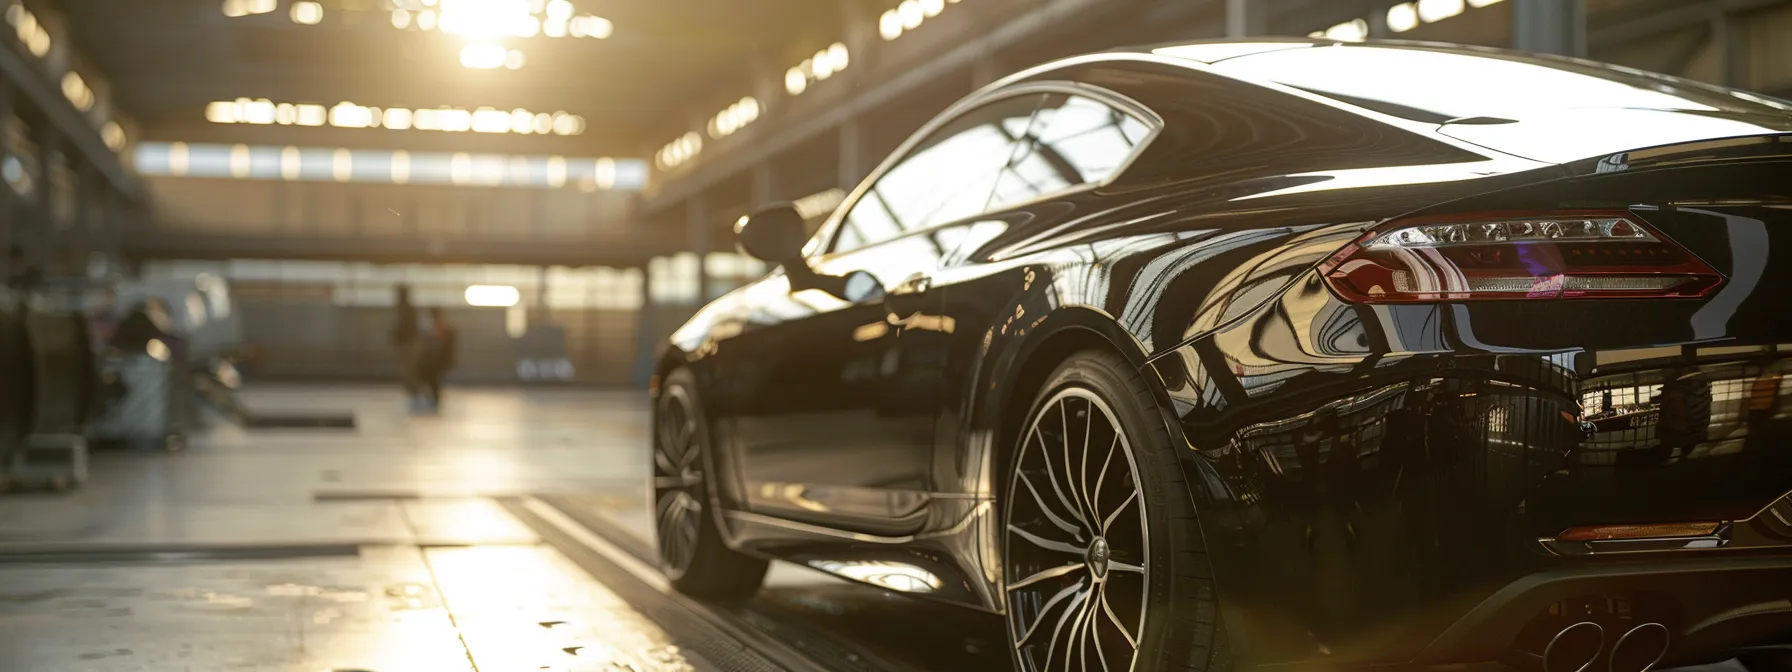
Paint protection film (PPF) serves as a vital barrier against environmental damage, enhancing the cleanliness and longevity of a vehicle’s exterior. This section will explore what paint protection film does, the advantages of installing it, and the various types available. Key aspects such as the use of a heat gun during installation by paint protection film installers and the importance of slip for proper application will also be discussed.
Exploring What Paint Protection Film Does
Paint protection film (PPF) acts as a robust adhesive barrier that shields a vehicle‘s surface from various environmental threats. It effectively resists abrasive materials, such as road debris and dirt, which can cause scratches and damage. Additionally, PPF helps prevent unsightly fingerprints and smudges, making maintenance easier; a simple wash with soap and water is often sufficient to keep the surface clean and clear.
Advantages of Installing Paint Protection Film
Installing paint protection film (PPF) offers numerous advantages that enhance a vehicle‘s longevity and appearance. This polyurethane film acts as a shield against stains and contamination, effectively preventing damage from environmental factors such as dirt, debris, and harmful UV rays. Additionally, PPF can withstand pressure from impacts, ensuring that the vehicle‘s paint remains intact and vibrant over time, while also simplifying maintenance with easy spray cleaning methods.
- Protection against scratches and abrasions
- Resistance to stains and contamination
- Durability under pressure from impacts
- Ease of maintenance with simple cleaning
- Preservation of vehicle aesthetics
Different Types of Paint Protection Films
There are several types of paint protection films available, each designed to meet specific needs in automotive paint protection. For instance, ceramic films offer enhanced durability and resistance to wear, making them ideal for high-performance vehicles. Gel films, on the other hand, provide a flexible application that can conform to various surfaces, ensuring a seamless fit. Understanding these options allows vehicle owners to choose the right film that aligns with their maintenance preferences and desired level of protection, ultimately preserving the vehicle‘s appearance and value.
Now that the benefits of paint protection film are clear, it is time to focus on the next step. Preparing your vehicle for installation will ensure the best results and lasting protection.
Preparing Your Vehicle for Installation
Preparing Your Vehicle for Installation
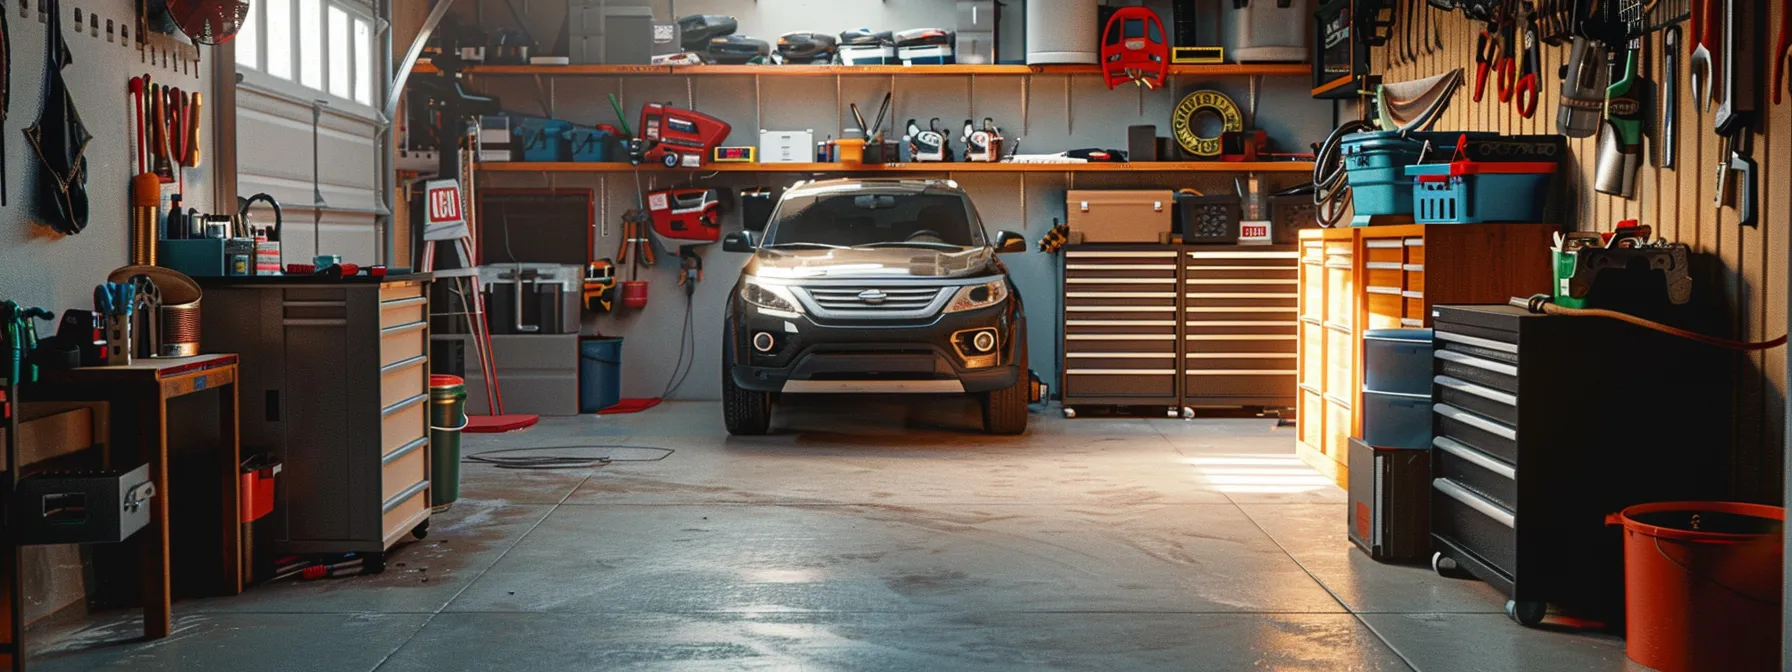
Preparing a vehicle for paint protection film installation involves several key steps. First, gathering essential tools and materials ensures a smooth application process. Next, cleaning and prepping the vehicle surface is crucial to remove dust and debris, preventing friction during installation. Finally, setting up an ideal workspace, free from sunlight and contaminants, enhances the overall effectiveness of the installation.
Gathering Essential Tools and Materials
Gathering essential tools and materials is a critical step in preparing a vehicle for paint protection film installation. Key items include microfiber towels for cleaning surfaces, a clay bar to remove embedded dirt, and a heat gun to assist with the application process. Additionally, having a headlamp can help illuminate hard-to-see areas, such as the fender edges, ensuring thorough preparation before applying the film.
Cleaning and Prepping the Vehicle Surface
Cleaning and prepping the vehicle surface is essential for ensuring the longevity of paint protection film (PPF). This process involves removing any tar, dirt, or corrosion that may be present on the vehicle, particularly around sensitive areas like the bumper. A thorough cleaning not only enhances the adhesion of the film but also prevents future issues, allowing the PPF to effectively protect the vehicle‘s exterior from environmental damage.
- Remove tar and dirt from the vehicle surface.
- Inspect for any signs of corrosion, especially near the bumper.
- Ensure the surface is completely dry before applying the film.
Setting Up an Ideal Workspace
Setting up an ideal workspace is crucial for the successful installation of paint protection film. The area should be clean, dry, and free from moisture to prevent any contaminants from interfering with the film’s adhesion. Attention to detail is essential; ensuring that the workspace is shielded from insects and dust will help maintain the integrity of the installation. Using a sponge to wipe down surfaces before starting can further enhance cleanliness, allowing for a smooth application process.
With your vehicle ready, the next step awaits. Follow this guide to install paint protection film and keep your car looking sharp.
Step-by-Step Paint Protection Film Installation Guide
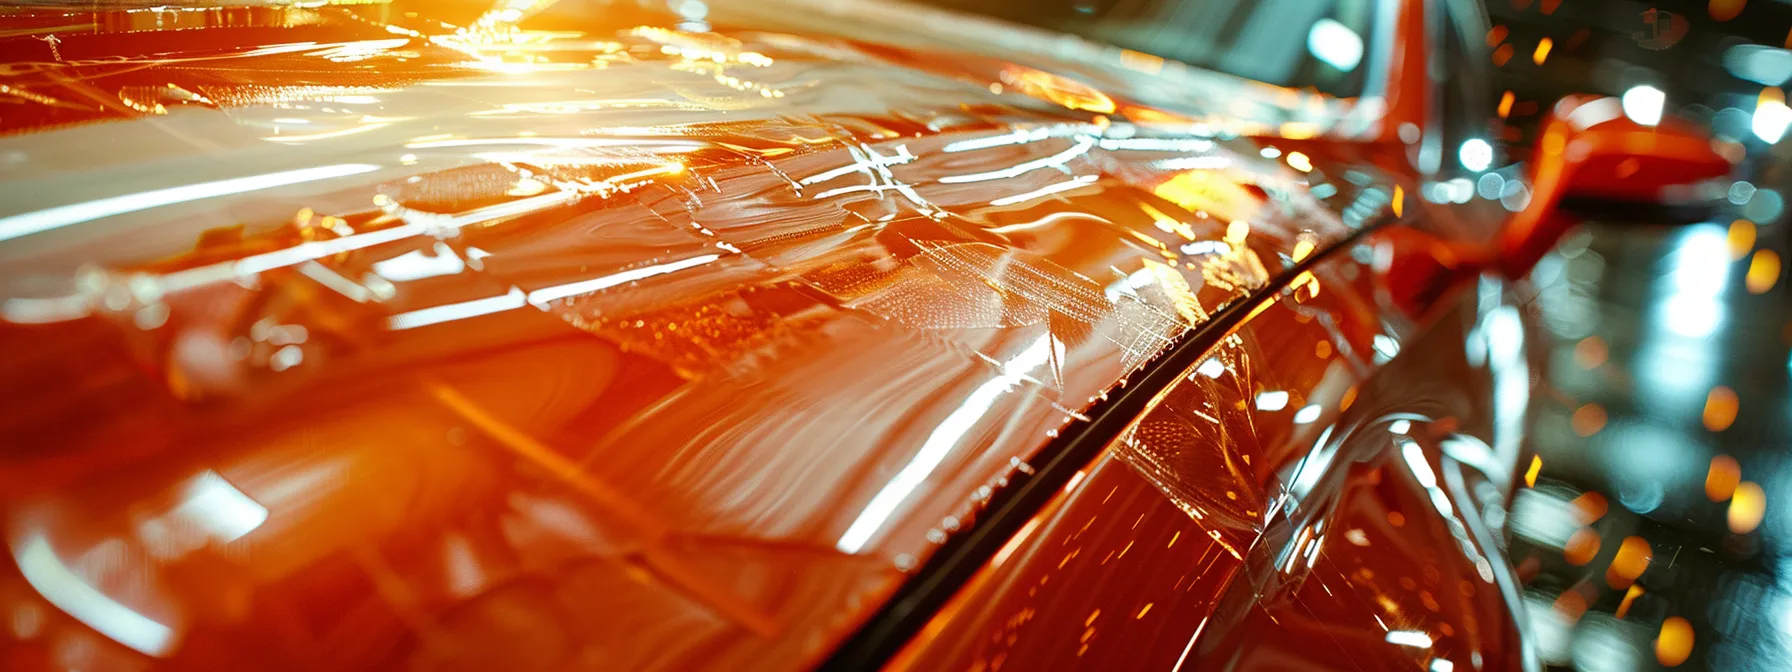
This step-by-step guide to installing paint protection film (PPF) covers essential processes for achieving a professional finish. It begins with measuring and cutting the film precisely to fit the vehicle‘s contours. Next, applying a slip solution using a spray bottle filled with purified water facilitates easier placement. The guide then details how to position the film, remove air bubbles with a squeegee, and trim excess film to finalize the edges, minimizing the risk of stretch marks and ensuring a seamless application.
Measuring and Cutting the Film Precisely
Measuring and cutting the paint protection film (PPF) precisely is crucial for achieving a seamless installation. Accurate measurements ensure that the film fits the vehicle‘s contours without excess material, which can lead to issues such as peeling or lifting. It is advisable to use a clean, oil-free surface for cutting, as any residue can affect the film’s adhesion. Additionally, taking the time to hand wash the vehicle before installation helps eliminate contaminants that could interfere with the film’s performance, ultimately enhancing the longevity and effectiveness of the protection provided.
Applying Slip Solution to the Surface
Applying a slip solution to the surface is a critical step in the paint protection film installation process. This solution, typically a mixture of water and a few drops of soap, allows the film to glide smoothly over the vehicle‘s surface, facilitating proper positioning and alignment. By using a spray bottle to evenly distribute the slip solution, installers can minimize the risk of air bubbles and ensure a tight bond once the film is set, ultimately enhancing the effectiveness of the paint protection film.
Placing the Film Onto the Vehicle
Placing the paint protection film onto the vehicle requires careful attention to detail to ensure a flawless application. Installers should begin by aligning the film with the vehicle‘s contours, using the slip solution to facilitate movement and positioning. Once the film is in place, it is essential to gently press down to eliminate any air bubbles, ensuring a secure bond that maximizes the film’s protective capabilities against scratches and environmental damage.
Removing Air Bubbles and Smoothening the Film
Removing air bubbles and smoothening the film is a critical step in the paint protection film installation process. Installers should use a squeegee to gently push out any trapped air, starting from the center of the film and working towards the edges. This technique not only ensures a smooth finish but also enhances the film’s adhesion, preventing future lifting or peeling that could compromise the vehicle‘s protection against scratches and environmental damage.
Trimming Excess Film and Finalizing the Edges
Trimming excess film and finalizing the edges is a crucial step in the paint protection film installation process. Using a sharp utility knife, installers should carefully trim the film along the vehicle‘s contours, ensuring a precise fit that minimizes the risk of lifting or peeling. This attention to detail not only enhances the overall appearance of the installation but also ensures that the paint protection film effectively shields the vehicle from environmental damage, maintaining its aesthetic appeal and value over time.
Even with careful preparation, challenges can arise during installation. Understanding these common issues will help ensure a smooth process and a flawless finish.
Addressing Common Installation Challenges
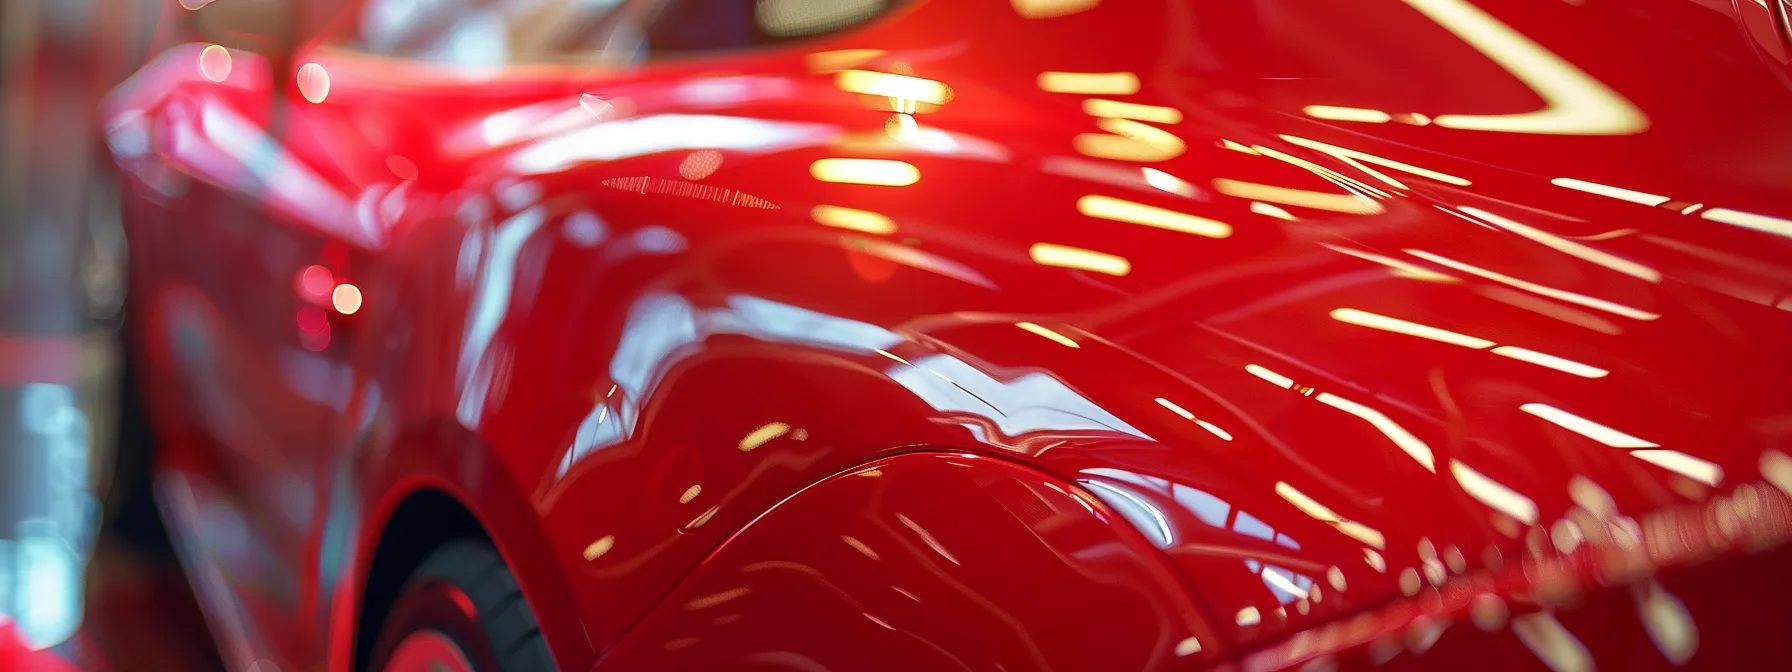
Managing curves and contours on a vehicle can pose challenges during paint protection film installation. Additionally, preventing stretch marks and film distortion is crucial for maintaining the film’s integrity. This section will also address how to correct misplacements without causing damage, providing practical insights to ensure a successful installation process.
Managing Curves and Contours on the Vehicle
Managing curves and contours on a vehicle during paint protection film installation requires careful attention and technique. Installers should start by applying the film gradually, allowing it to conform to the vehicle‘s shape without excessive stretching, which can lead to distortion. Utilizing a heat gun can help soften the film, making it more pliable and easier to manipulate around complex areas, ensuring a smooth and professional finish that effectively protects the vehicle‘s surface.
Preventing Stretch Marks and Film Distortion
Preventing stretch marks and film distortion during paint protection film installation is essential for achieving a flawless finish. Installers should apply the film gradually, using a heat gun to soften the material, which allows it to conform better to the vehicle‘s curves without excessive stretching. This technique not only enhances the film’s appearance but also ensures its longevity and effectiveness in protecting the vehicle‘s surface from environmental damage.
- Apply the film gradually to avoid excessive stretching.
- Utilize a heat gun to soften the film for better conformity.
- Ensure a smooth application to maintain the film’s integrity.
Correcting Misplacements Without Damage
Correcting misplacements during paint protection film installation requires a careful approach to avoid damaging the film or the vehicle‘s surface. If the film is not aligned properly, installers can gently lift it using a squeegee or their fingers, taking care to avoid excessive pulling that could lead to tears. Utilizing a heat gun can also help soften the film, allowing for easier repositioning without compromising its integrity, ensuring a smooth and professional finish.
Installation may be complete, but the journey doesn’t end there. Proper care and maintenance will ensure lasting results and keep everything in top shape.
Post-Installation Care and Maintenance
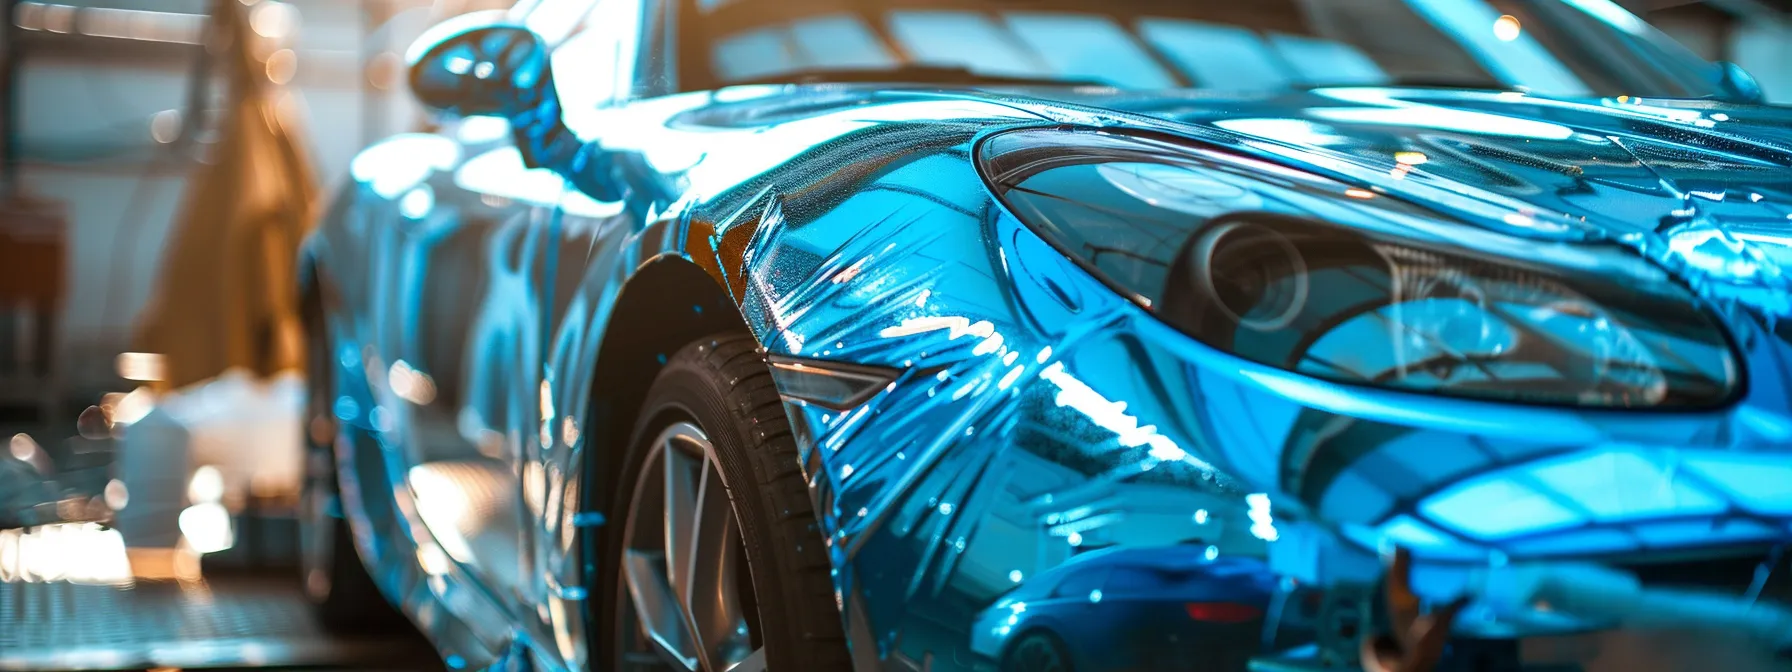
Post-installation care and maintenance are essential for ensuring the longevity and effectiveness of paint protection film (PPF). This section will cover the importance of allowing the film to cure properly, effective cleaning techniques for protected surfaces, and practical tips for long-term maintenance. Each topic provides valuable insights to help vehicle owners preserve the integrity and appearance of their PPF investment.
Allowing the Film to Cure Properly
Allowing the paint protection film (PPF) to cure properly is essential for maximizing its effectiveness and longevity. After installation, it is recommended to avoid washing the vehicle for at least 48 hours to ensure that the adhesive bonds securely to the surface. This waiting period allows the film to settle and adhere fully, preventing issues such as lifting or peeling that can compromise the protective benefits of the PPF.
Cleaning Techniques for Protected Surfaces
Cleaning techniques for protected surfaces covered with paint protection film (PPF) are essential for maintaining the film’s integrity and appearance. Vehicle owners should use a pH-balanced car wash soap and a soft microfiber cloth to gently clean the surface, avoiding harsh chemicals that could damage the film. Regular washing not only removes dirt and contaminants but also helps preserve the protective qualities of the PPF, ensuring that the vehicle remains shielded from environmental damage while looking its best.
Tips for Long-Term Maintenance
For long-term maintenance of paint protection film (PPF), vehicle owners should regularly wash their cars using a pH-balanced soap and soft microfiber cloth to avoid damaging the film. It is also advisable to avoid automatic car washes with brushes, as they can scratch the surface. Additionally, inspecting the film periodically for any signs of wear or damage allows for timely repairs, ensuring that the protective qualities of the PPF remain intact and the vehicle‘s appearance is preserved.
Caring for your installation is important, but the next choice looms large. Deciding between DIY and professional help can shape your project’s success.
Choosing Between DIY and Professional Installation
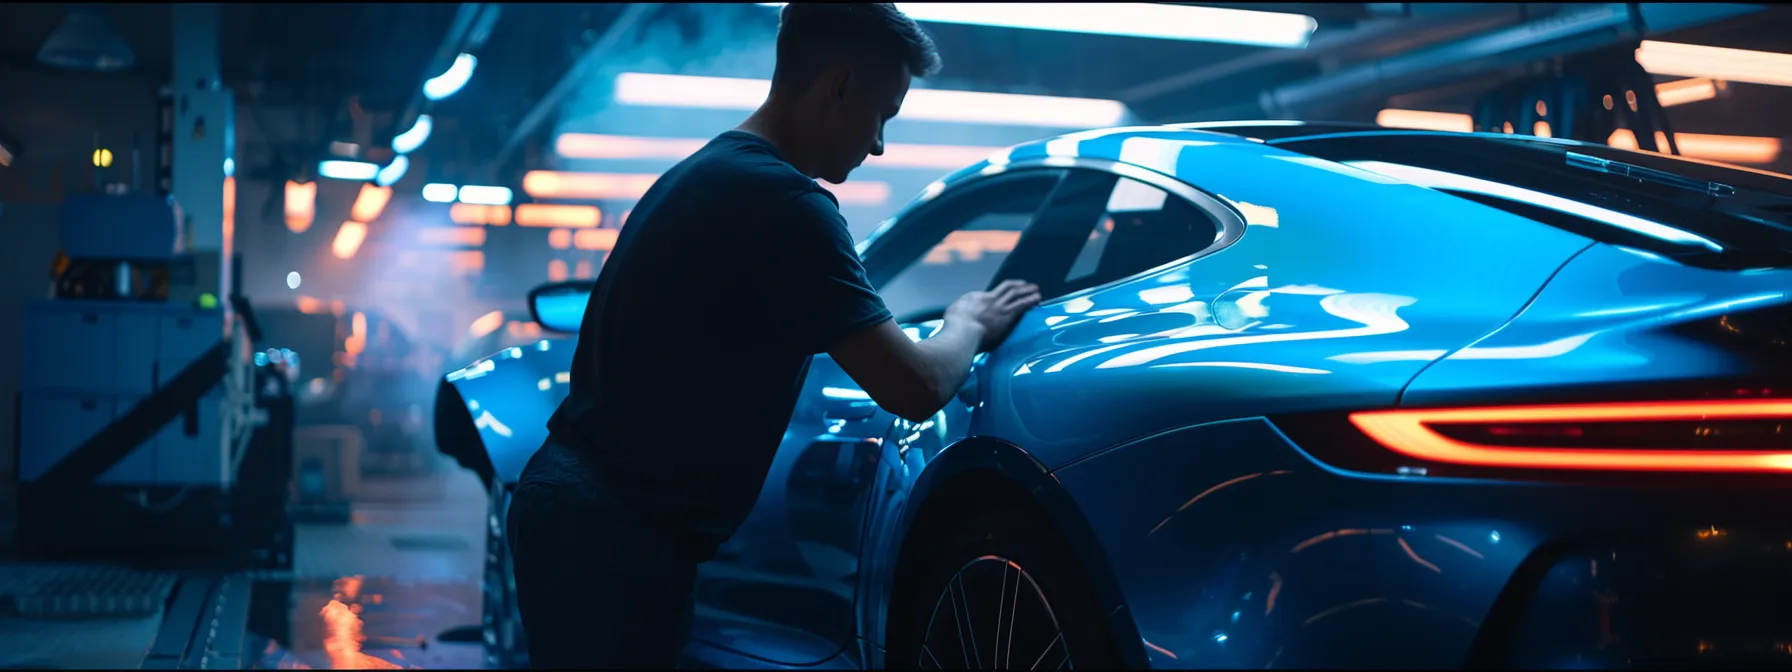
When considering paint protection film installation, vehicle owners must weigh the benefits and drawbacks of DIY installation against professional help. This section will explore when to opt for professional assistance, as well as compare the costs and results of each option. Understanding these factors will help individuals make informed decisions that align with their needs and expectations.
Benefits and Drawbacks of DIY Installation
DIY installation of paint protection film (PPF) can be appealing due to cost savings and the satisfaction of completing a project independently. However, it requires a certain level of skill and attention to detail; improper application can lead to issues such as air bubbles or misalignment, which may compromise the film’s effectiveness. For those with experience in automotive detailing, DIY can be a rewarding option, but beginners may find that professional installation ensures a flawless finish and optimal protection for their vehicle.
When to Consider Professional Help
Considering professional help for paint protection film installation is advisable when vehicle owners lack experience or the necessary tools for a successful application. Professionals possess the expertise to handle complex curves and contours, ensuring a flawless finish that DIY attempts may not achieve. Additionally, opting for professional installation can save time and reduce the risk of costly mistakes, ultimately providing peace of mind that the vehicle‘s exterior will be effectively protected against environmental damage.
Comparing Costs and Results of Each Option
When comparing the costs and results of DIY versus professional installation of paint protection film (PPF), several factors come into play. DIY installation may initially seem more budget-friendly, as it eliminates labor costs; however, the potential for mistakes can lead to additional expenses for materials or reapplication. In contrast, professional installation typically incurs higher upfront costs but often results in superior quality and durability, ensuring that the vehicle receives optimal protection against environmental damage.
- DIY installation offers cost savings but may lead to mistakes.
- Professional installation ensures high-quality results and durability.
- Consider potential reapplication costs when choosing DIY.
Conclusion
Installing paint protection film is essential for preserving a vehicle‘s exterior against environmental damage, scratches, and stains. Understanding the key steps—from preparation and installation to post-care—ensures a successful application that maximizes the film’s protective benefits. Whether opting for a DIY approach or professional assistance, careful consideration of techniques and materials can significantly impact the outcome. Ultimately, investing in paint protection film enhances the longevity and appearance of a vehicle, making it a valuable choice for any car owner.